In my opinion, we live in the best little spot in Nashville. It's a wooded area that is peaceful but still close to everything. Our neighbors are great and we couldn't be happier here. We love sitting outside so we decided we needed some more cohesive lighting. We have had some string lights up but they just weren't doing the job...enter our newest project...Hanging Bamboo Lights. We wanted something modern yet natural and decided to make them ourselves. Since we don't have Bamboo in our yard I called upon my awesome MOMS club friends and asked if anyone else did and of course my mama's came through for us! I wish I had some video of me chopping these bamboo stalks down because that sure was a site to see.
The first step is to split these shoots down the middle so we can get the cord all the way through. We used a few tools before we finally got it right.
The ALABAMA knife did the trick.
We used lights that my man had left over from a music video shoot. They are super inexpensive and we picked them up for a few dollars each at the Home Depot.
Once they are strung we fastened them together with cable ties to keep everything in place.
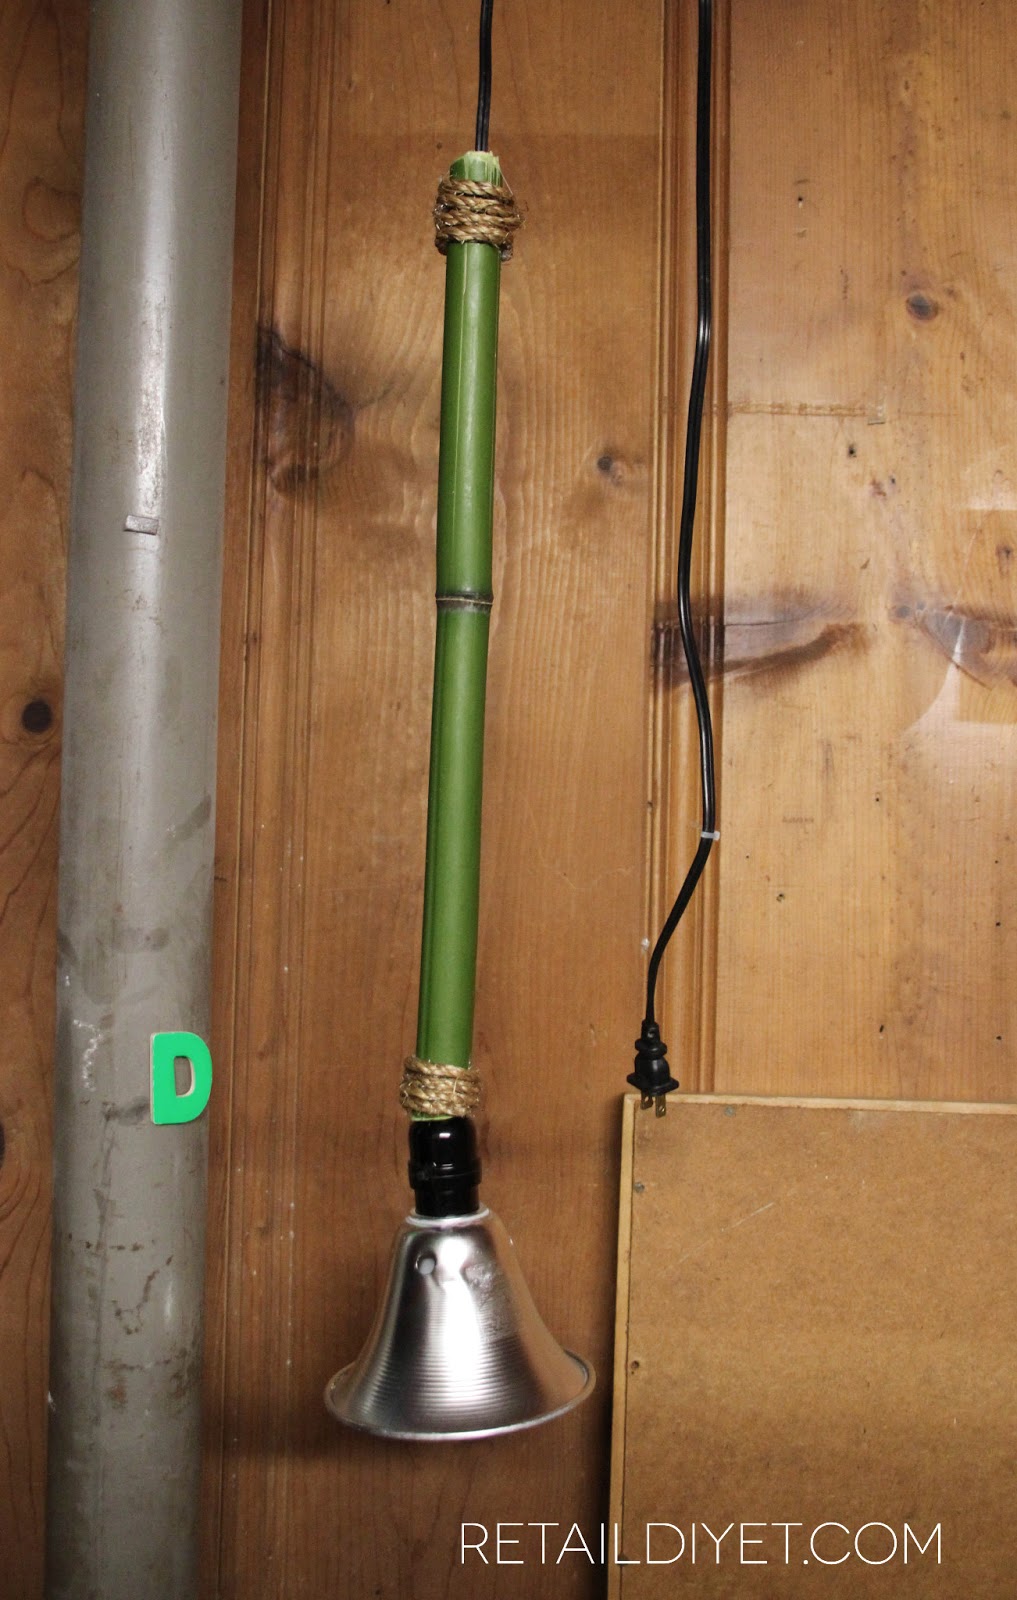
We then covered the cable ties with rope to hide those hideous plastic ties.
A little hot glue and a few burns later...they start to come together.
To us the silver just wasn't blending in and it made them look..um..cheap so we painted them with Rustoleum's Aged Copper spray paint.
I think the best part of the light is this awesome vintage type bulb. We also picked this up at the Home Depot for about $10 a piece. I know that's expensive for one bulb but to me it was totally worth it since we had everything else on hand.
Here they are in all of their glory...
And then the sun started to set just right for these photos.
Not bad, right? Especially when you figure we paid less than $50 for three outdoor lights when you factor in bulbs, wiring, etc. We couldn't be happier with how they turned out. We love them so much we're thinking of adding them to our patio as well. Do you have anything in your yard you could turn into a light?
xo,
Danielle
Linking up to:


Labels: lighting